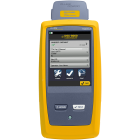
Creating a Custom Cable Type - DSX Cable Analyzer
If the cable type you are testing is not listed in the latest Versiv software, you can follow these steps in order to create custom cable type. From the home screen, tap on the name of your project:

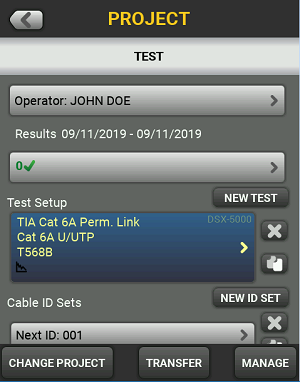
This will open the PROJECT screen. Next, tap on the Test Setup box:
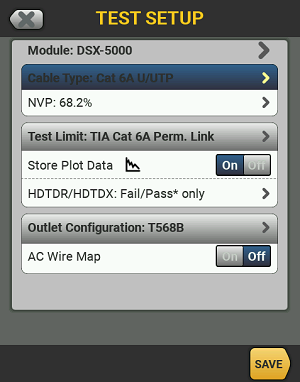
This will open the TEST SETUP screen. Next, tap on the Cable Type box:
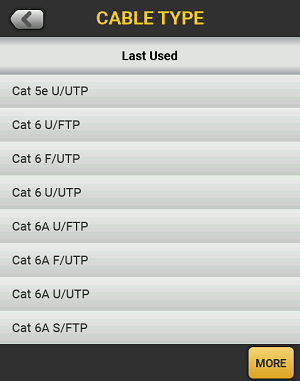
This will present you with a list of the “Last Used” test limits. Tap on the MORE button in the bottom right corner:
From the list of Cable Groups, tap on “Custom”, and then tap the MANAGE button in the bottom left corner, and then tap on the “Create” option:
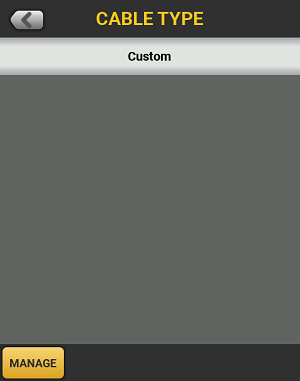
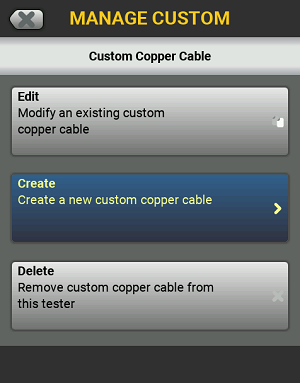
You should now be at the NEW CUSTOM CABLE screen. Here we can change the three main properties of the Cable Type setting:
- Name
- Shield indication (Use default values from:)
- NVP value
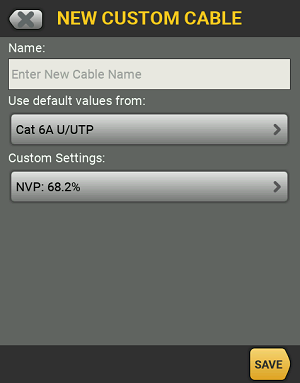
Once you have configured these settings, simply hit the SAVE button in the bottom right corner, then tap the name of the cable type that you have just created. You should now be back at the TEST SETUP screen. Double check that you have selected the correct Test Limit and Outlet Configuration for your test, then tap the SAVE button in the corner once more:
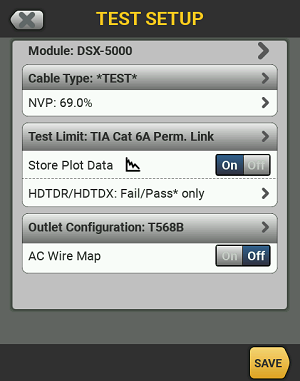
You are now ready to test using your new custom cable type.


